Two possible causes
The defect first appeared on yellow areas. Either the yellow PLA or Toolhead #4 could have caused it. The model was not yet proven responsible.
This example uses a one-variable test to determine whether poor color alignment came from the filament spool or an incorrect toolhead offset on Toolhead #4.
Small projections appeared at several red/yellow boundaries. Select a thumbnail to inspect the original photograph at full size.
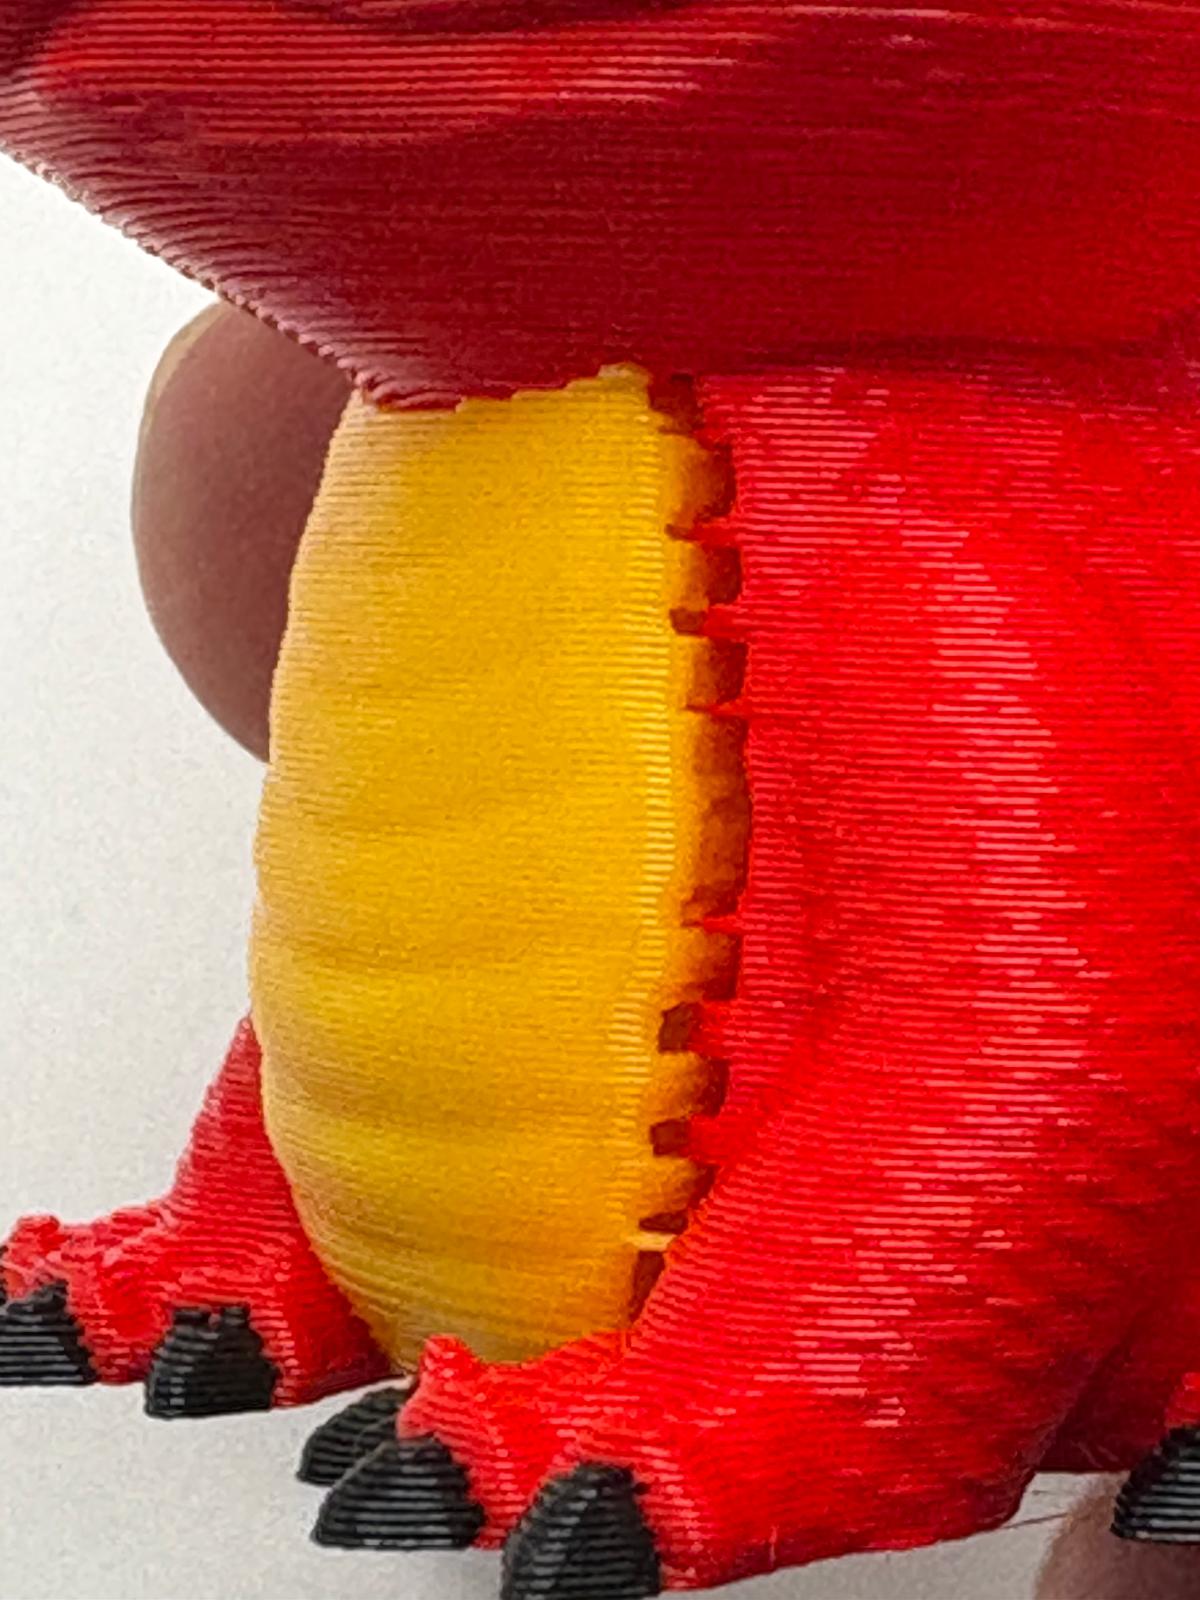
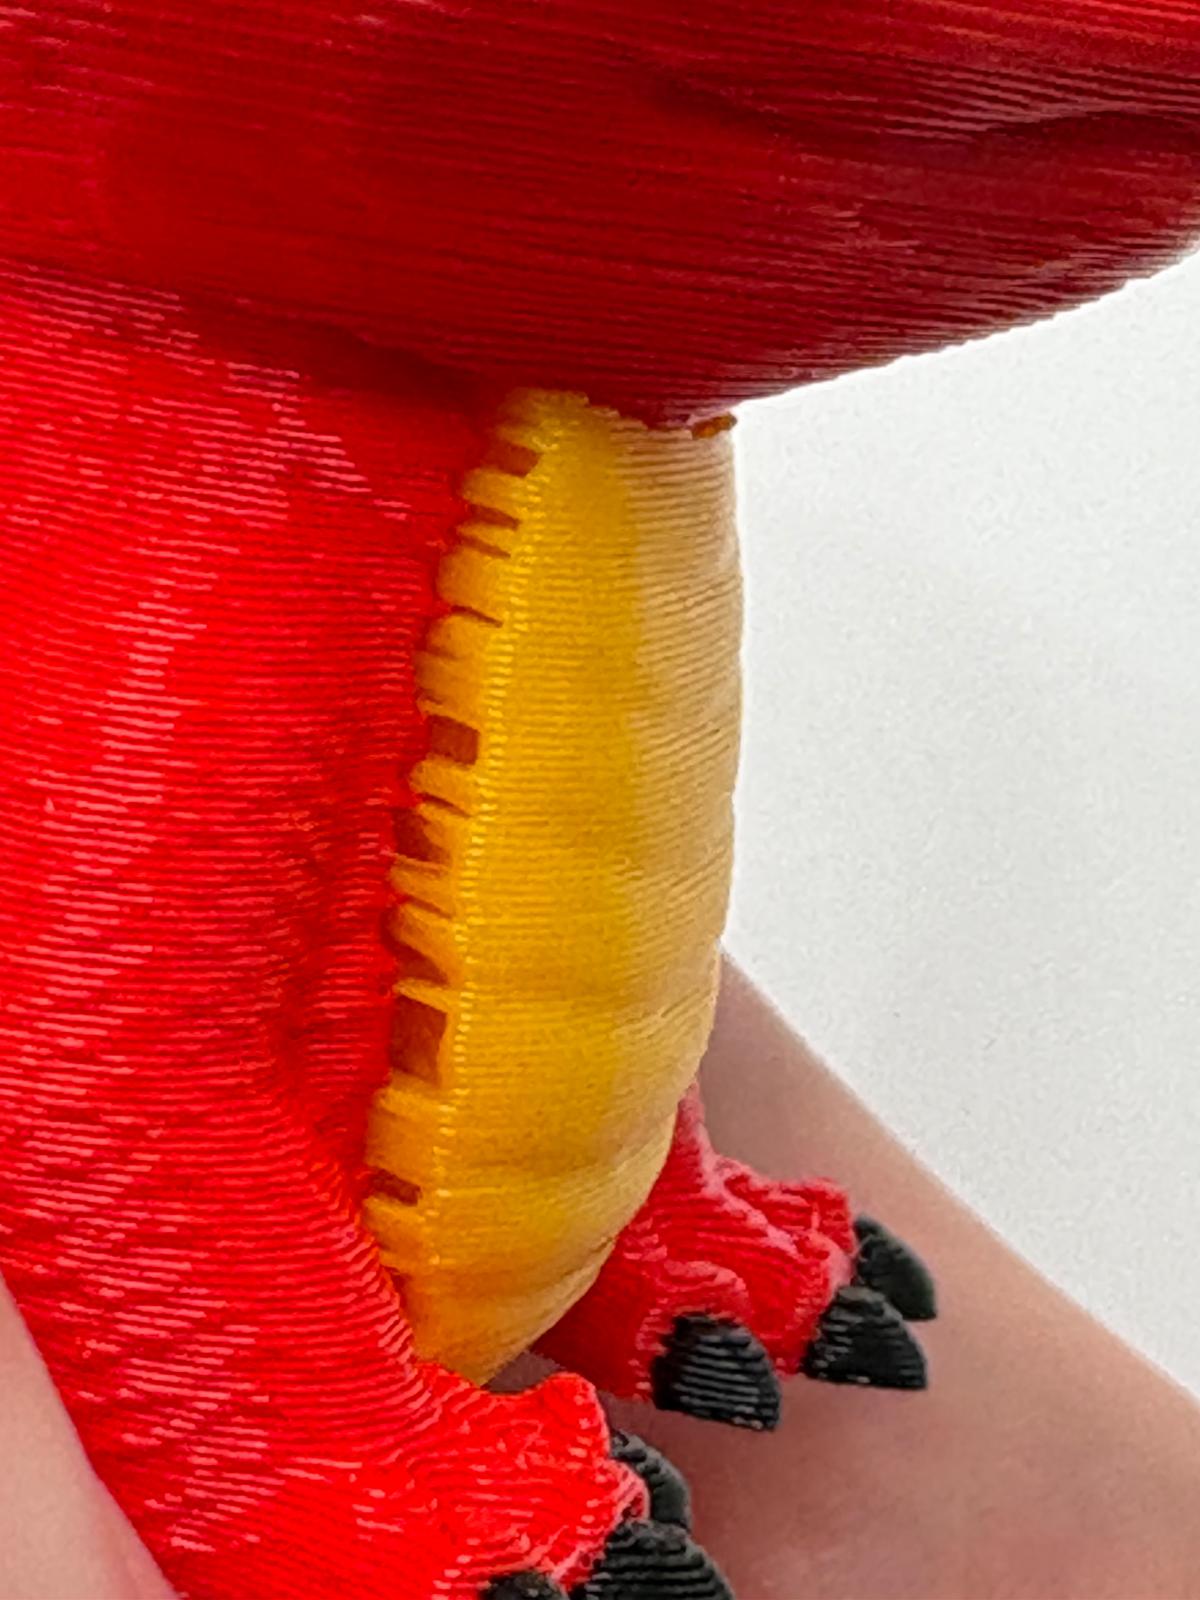
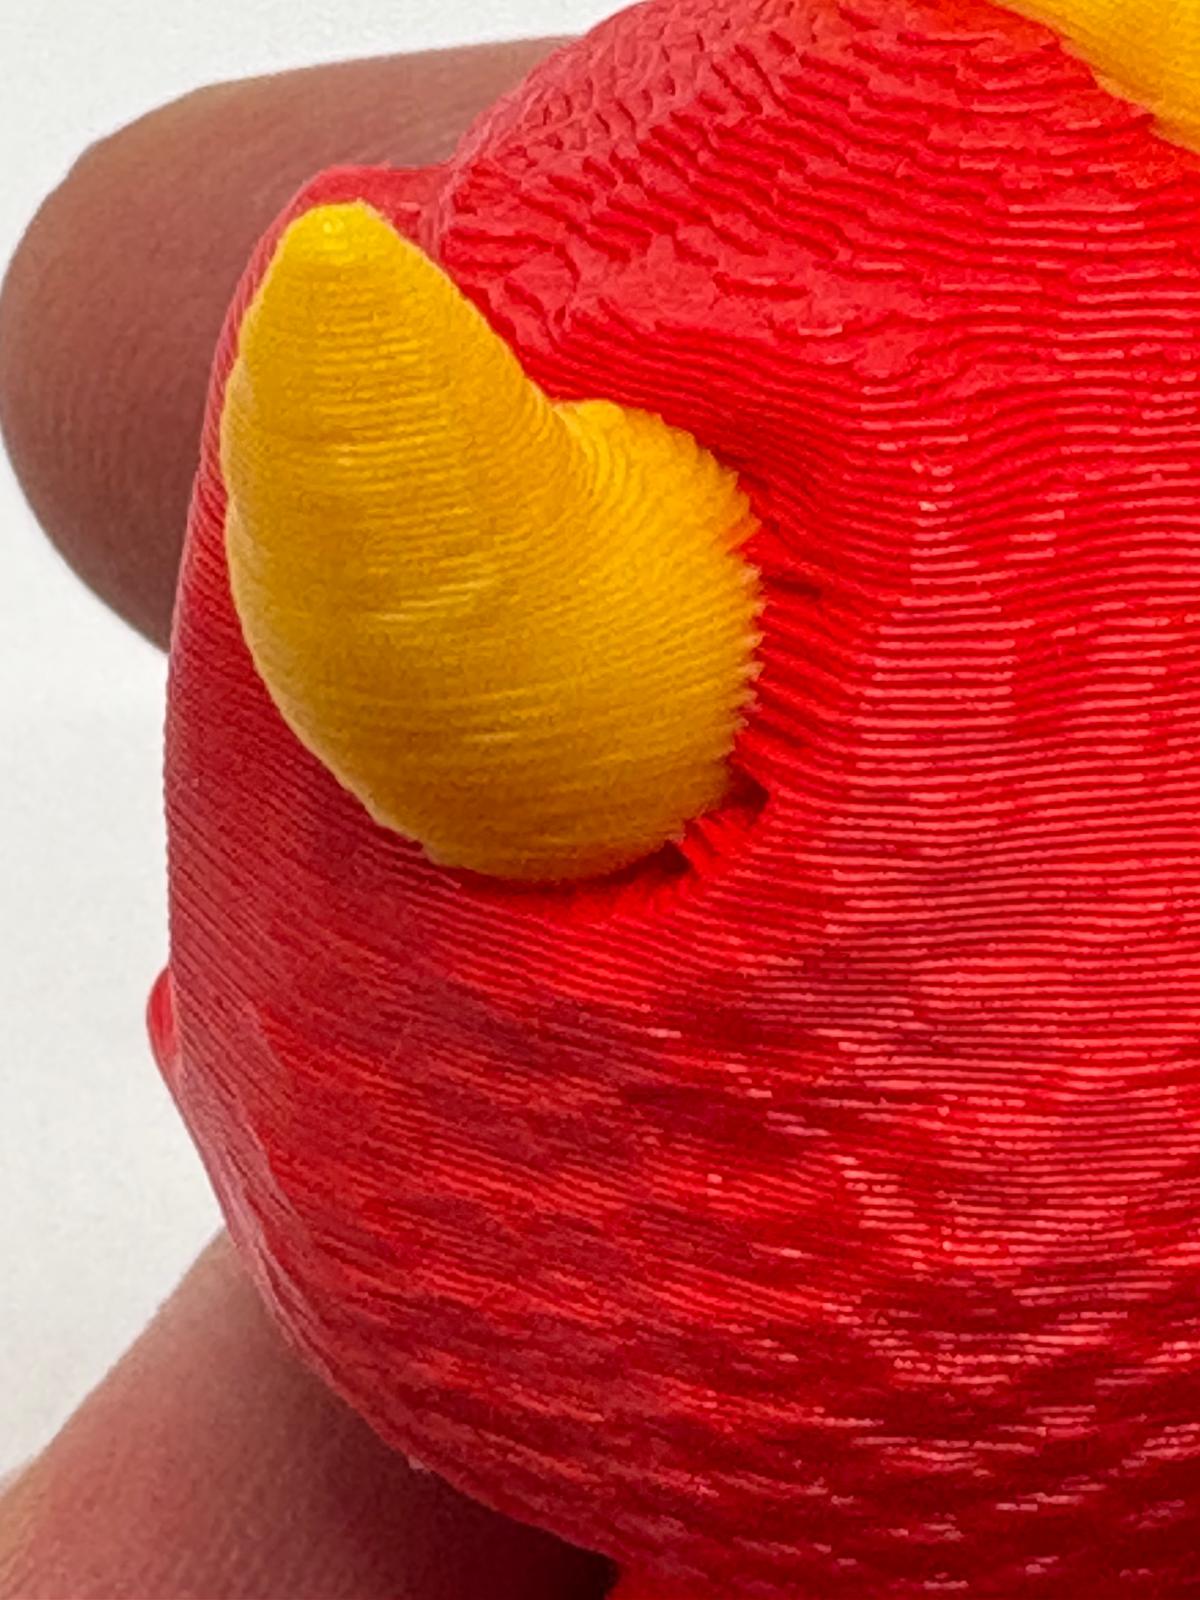
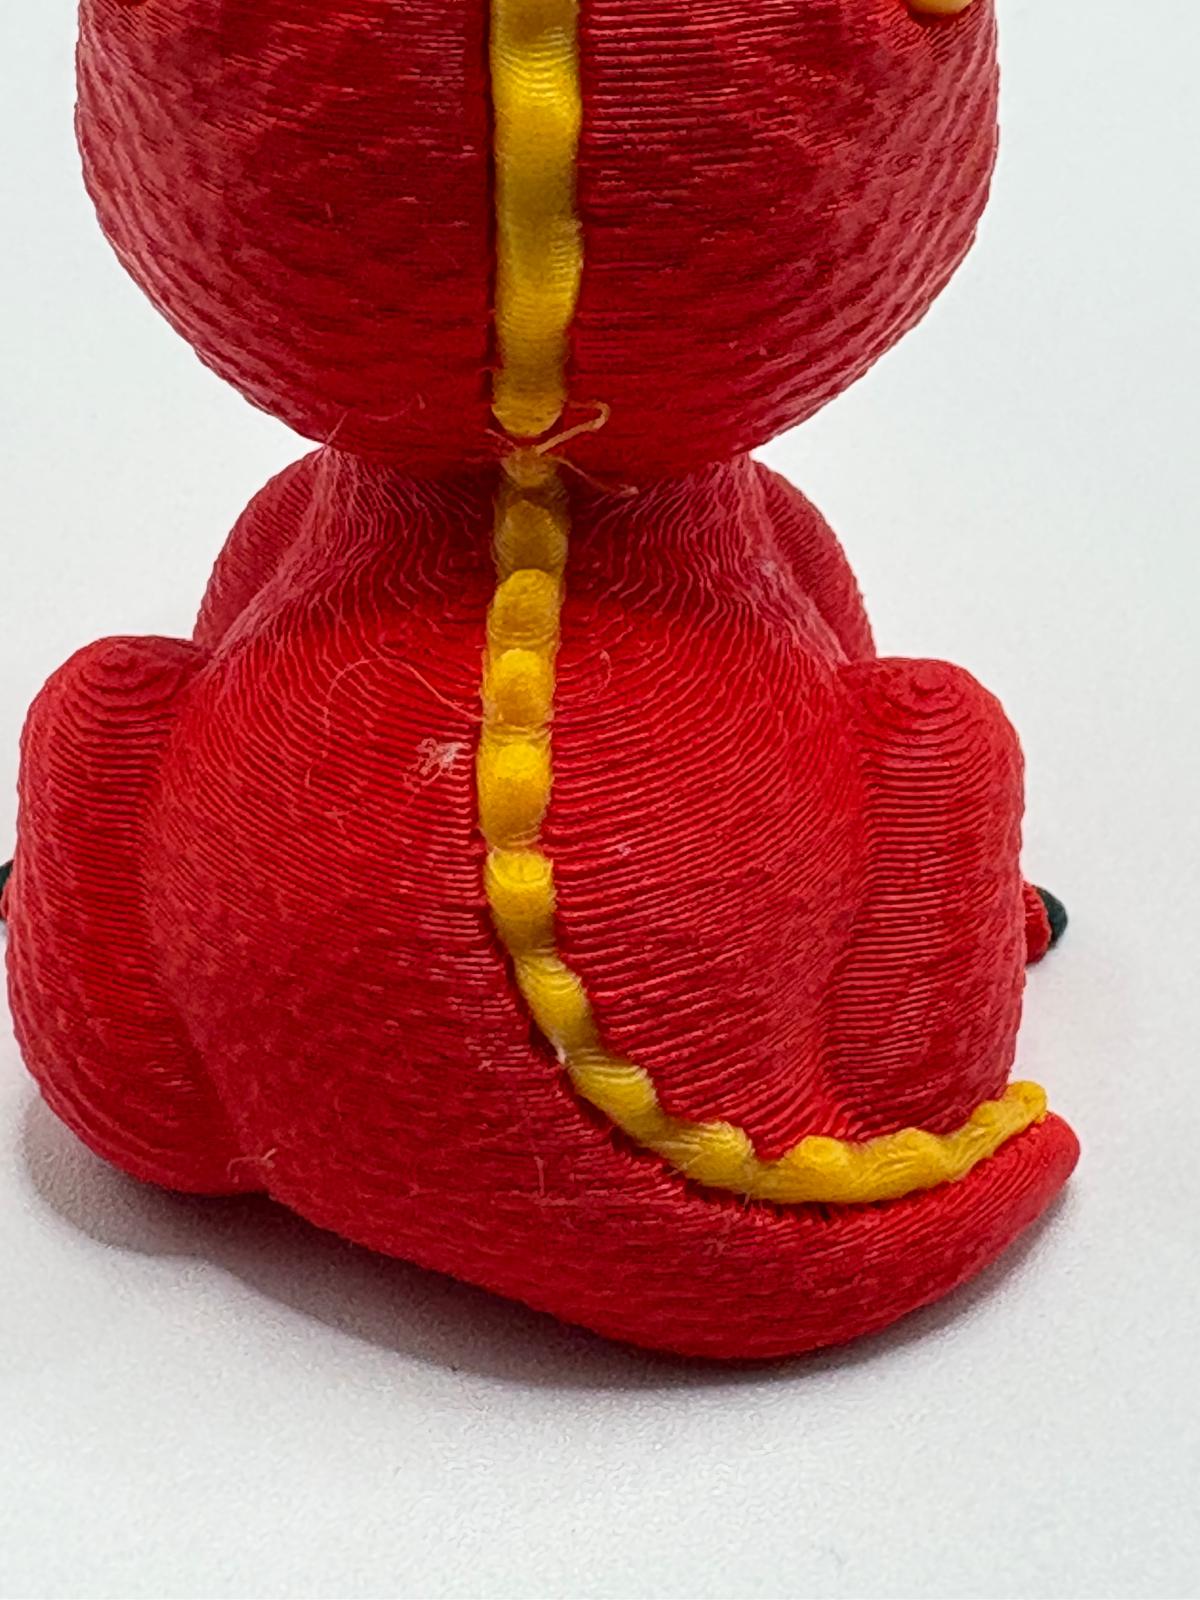
Select any thumbnail to enlarge it. Press Escape or choose Close to return.
The defect first appeared on yellow areas. Either the yellow PLA or Toolhead #4 could have caused it. The model was not yet proven responsible.
An unopened blue SnapSpeed PLA spool replaced yellow in Toolhead #4. The identical test G-code and normal dynamic flow calibration were used again.
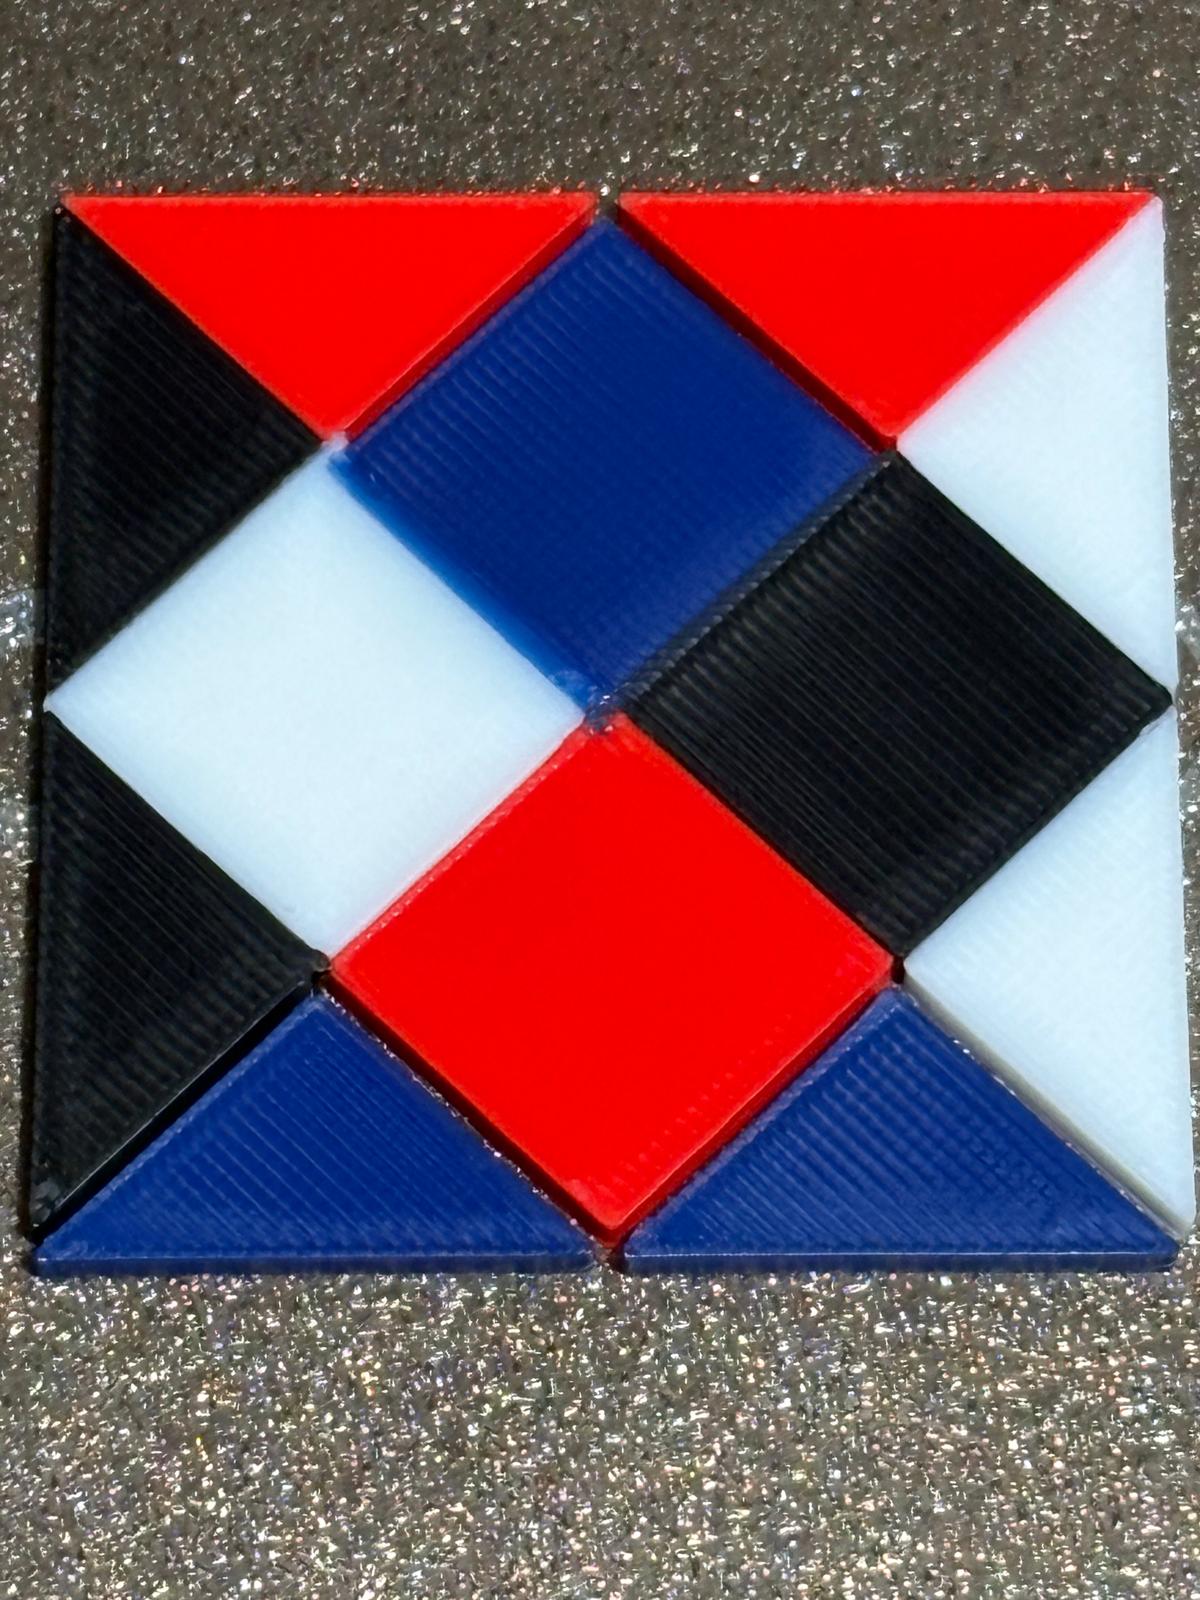
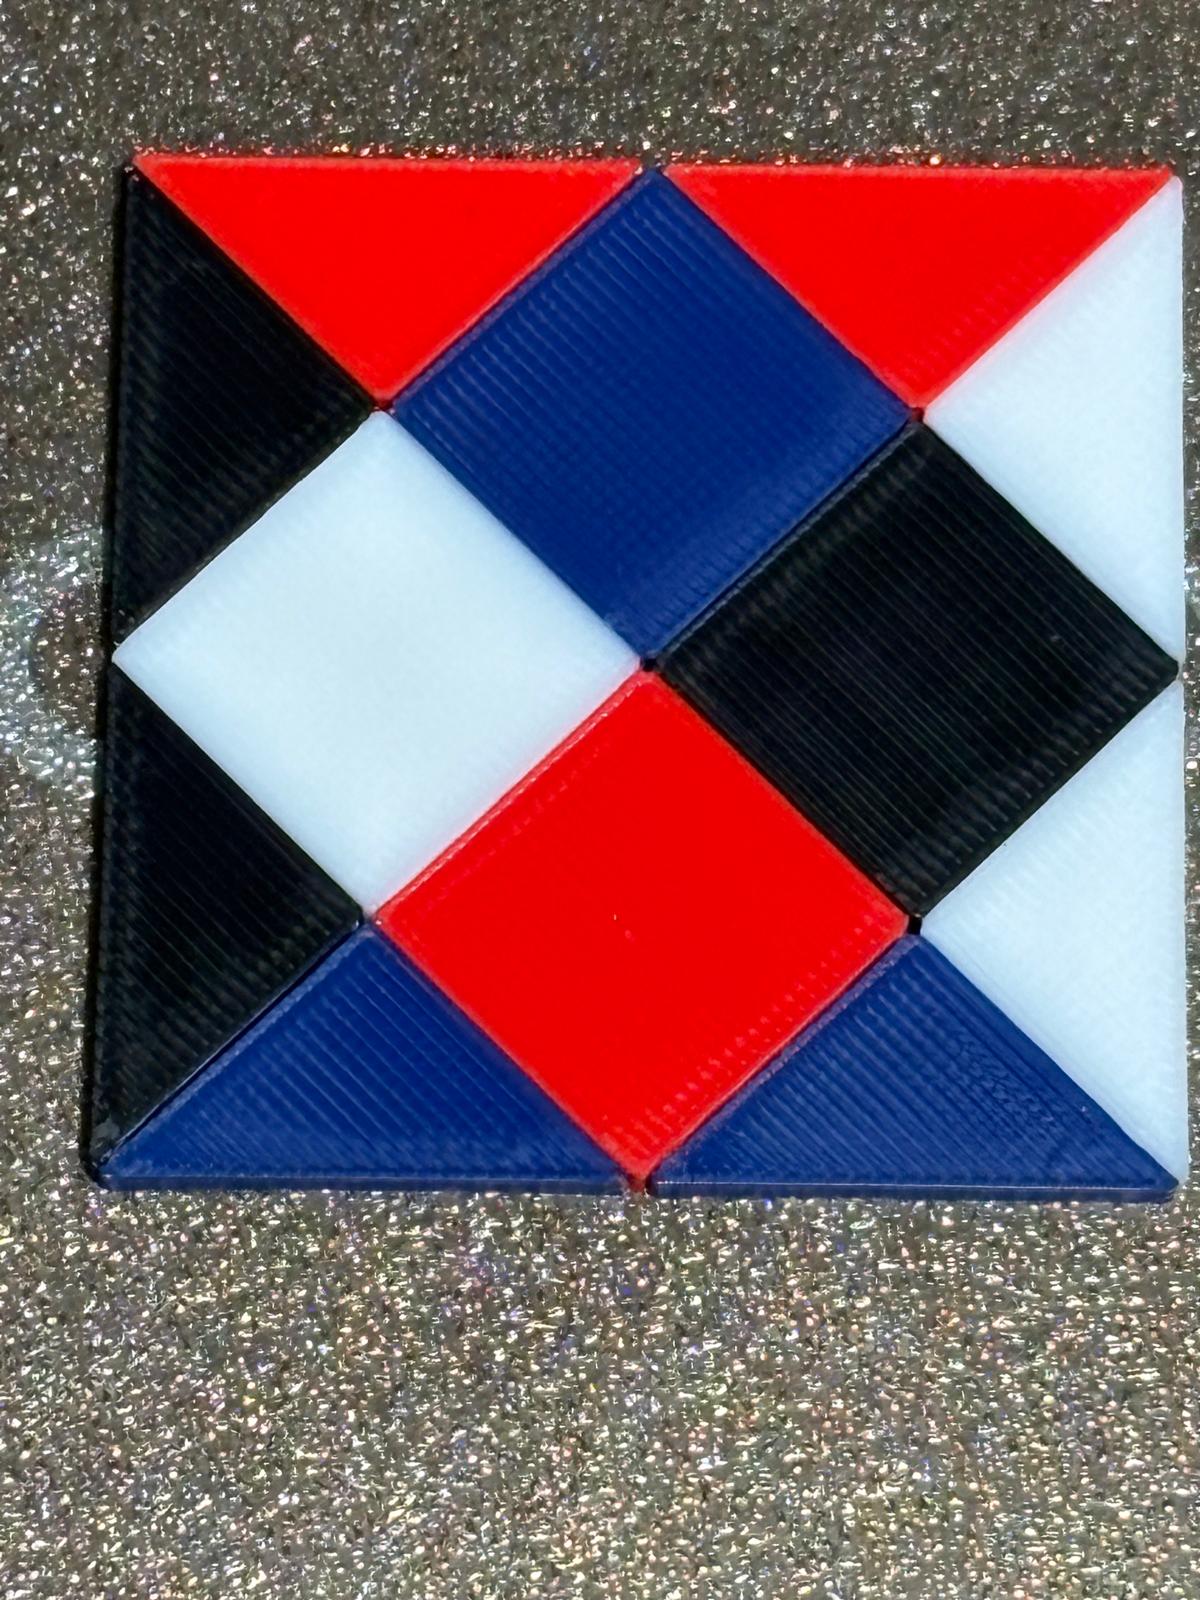
Select either test image to compare the color boundaries at full size.
Blue showed similar boundary behavior in the same physical toolhead. This ruled out the yellow spool as the primary cause and identified toolhead alignment as the leading cause.
After multi-toolhead offset calibration, the test printed as one intact piece. The four-color dragon then reprinted at excellent quality with only minor cosmetic imperfections.
| What happened | What it means | Conclusion |
|---|---|---|
| The defect first appeared on yellow areas | Either the filament or Toolhead #4 could be responsible. | Cause unknown |
| New blue PLA showed the same behavior in Toolhead #4 | The defect followed the physical toolhead instead of the color. | Yellow ruled out |
| The alignment test stayed together after calibration | Color boundaries fused correctly with no loose pieces. | Calibration passed |
| The four-color dragon was printed again | Clean color registration with only minor cosmetic imperfections. | Printer ready |
Unload all four filaments and clean the nozzle tips. Select Settings > Device Calibration > Multi-toolhead Offset Calibration > Start, then follow the printer instructions.
The corrected offsets are stored in the U1 firmware. Reusing the identical G-code creates a fair before-and-after comparison.